
Connect AWS
Most investigations start in AWS, so this is usually the first account you connect to Microtica Agents. The connection is a read-only IAM role that lives in your AWS account — you create it by launching a small CloudFormation stack, and no keys ever leave AWS.
The role carries AWS’s managed ReadOnlyAccess policy: the Investigator can read your resources but never change them. How access is scoped, verified, and revoked is covered in Security & access.
Connect an account
- In the console, open your project’s settings and choose Cloud under Connections.
- In the Cloud providers section, find Amazon Web Services and click Connect. The Connect AWS Account dialog opens.
- Click Connect. AWS CloudFormation opens in a new tab, pre-filled with the stack template. The dialog links the exact IAM policy so you can review it first.
- In the AWS console, review the template, acknowledge that it creates IAM resources, and create the stack. The stack creates the read-only role and reports it back to Microtica automatically.
- Return to the console tab. The dialog shows Waiting for AWS account connection… and closes on its own once the handshake completes — you see an AWS Account Connected confirmation, and the account appears in the list.
The whole flow usually takes under two minutes; most of that is CloudFormation creating the stack.
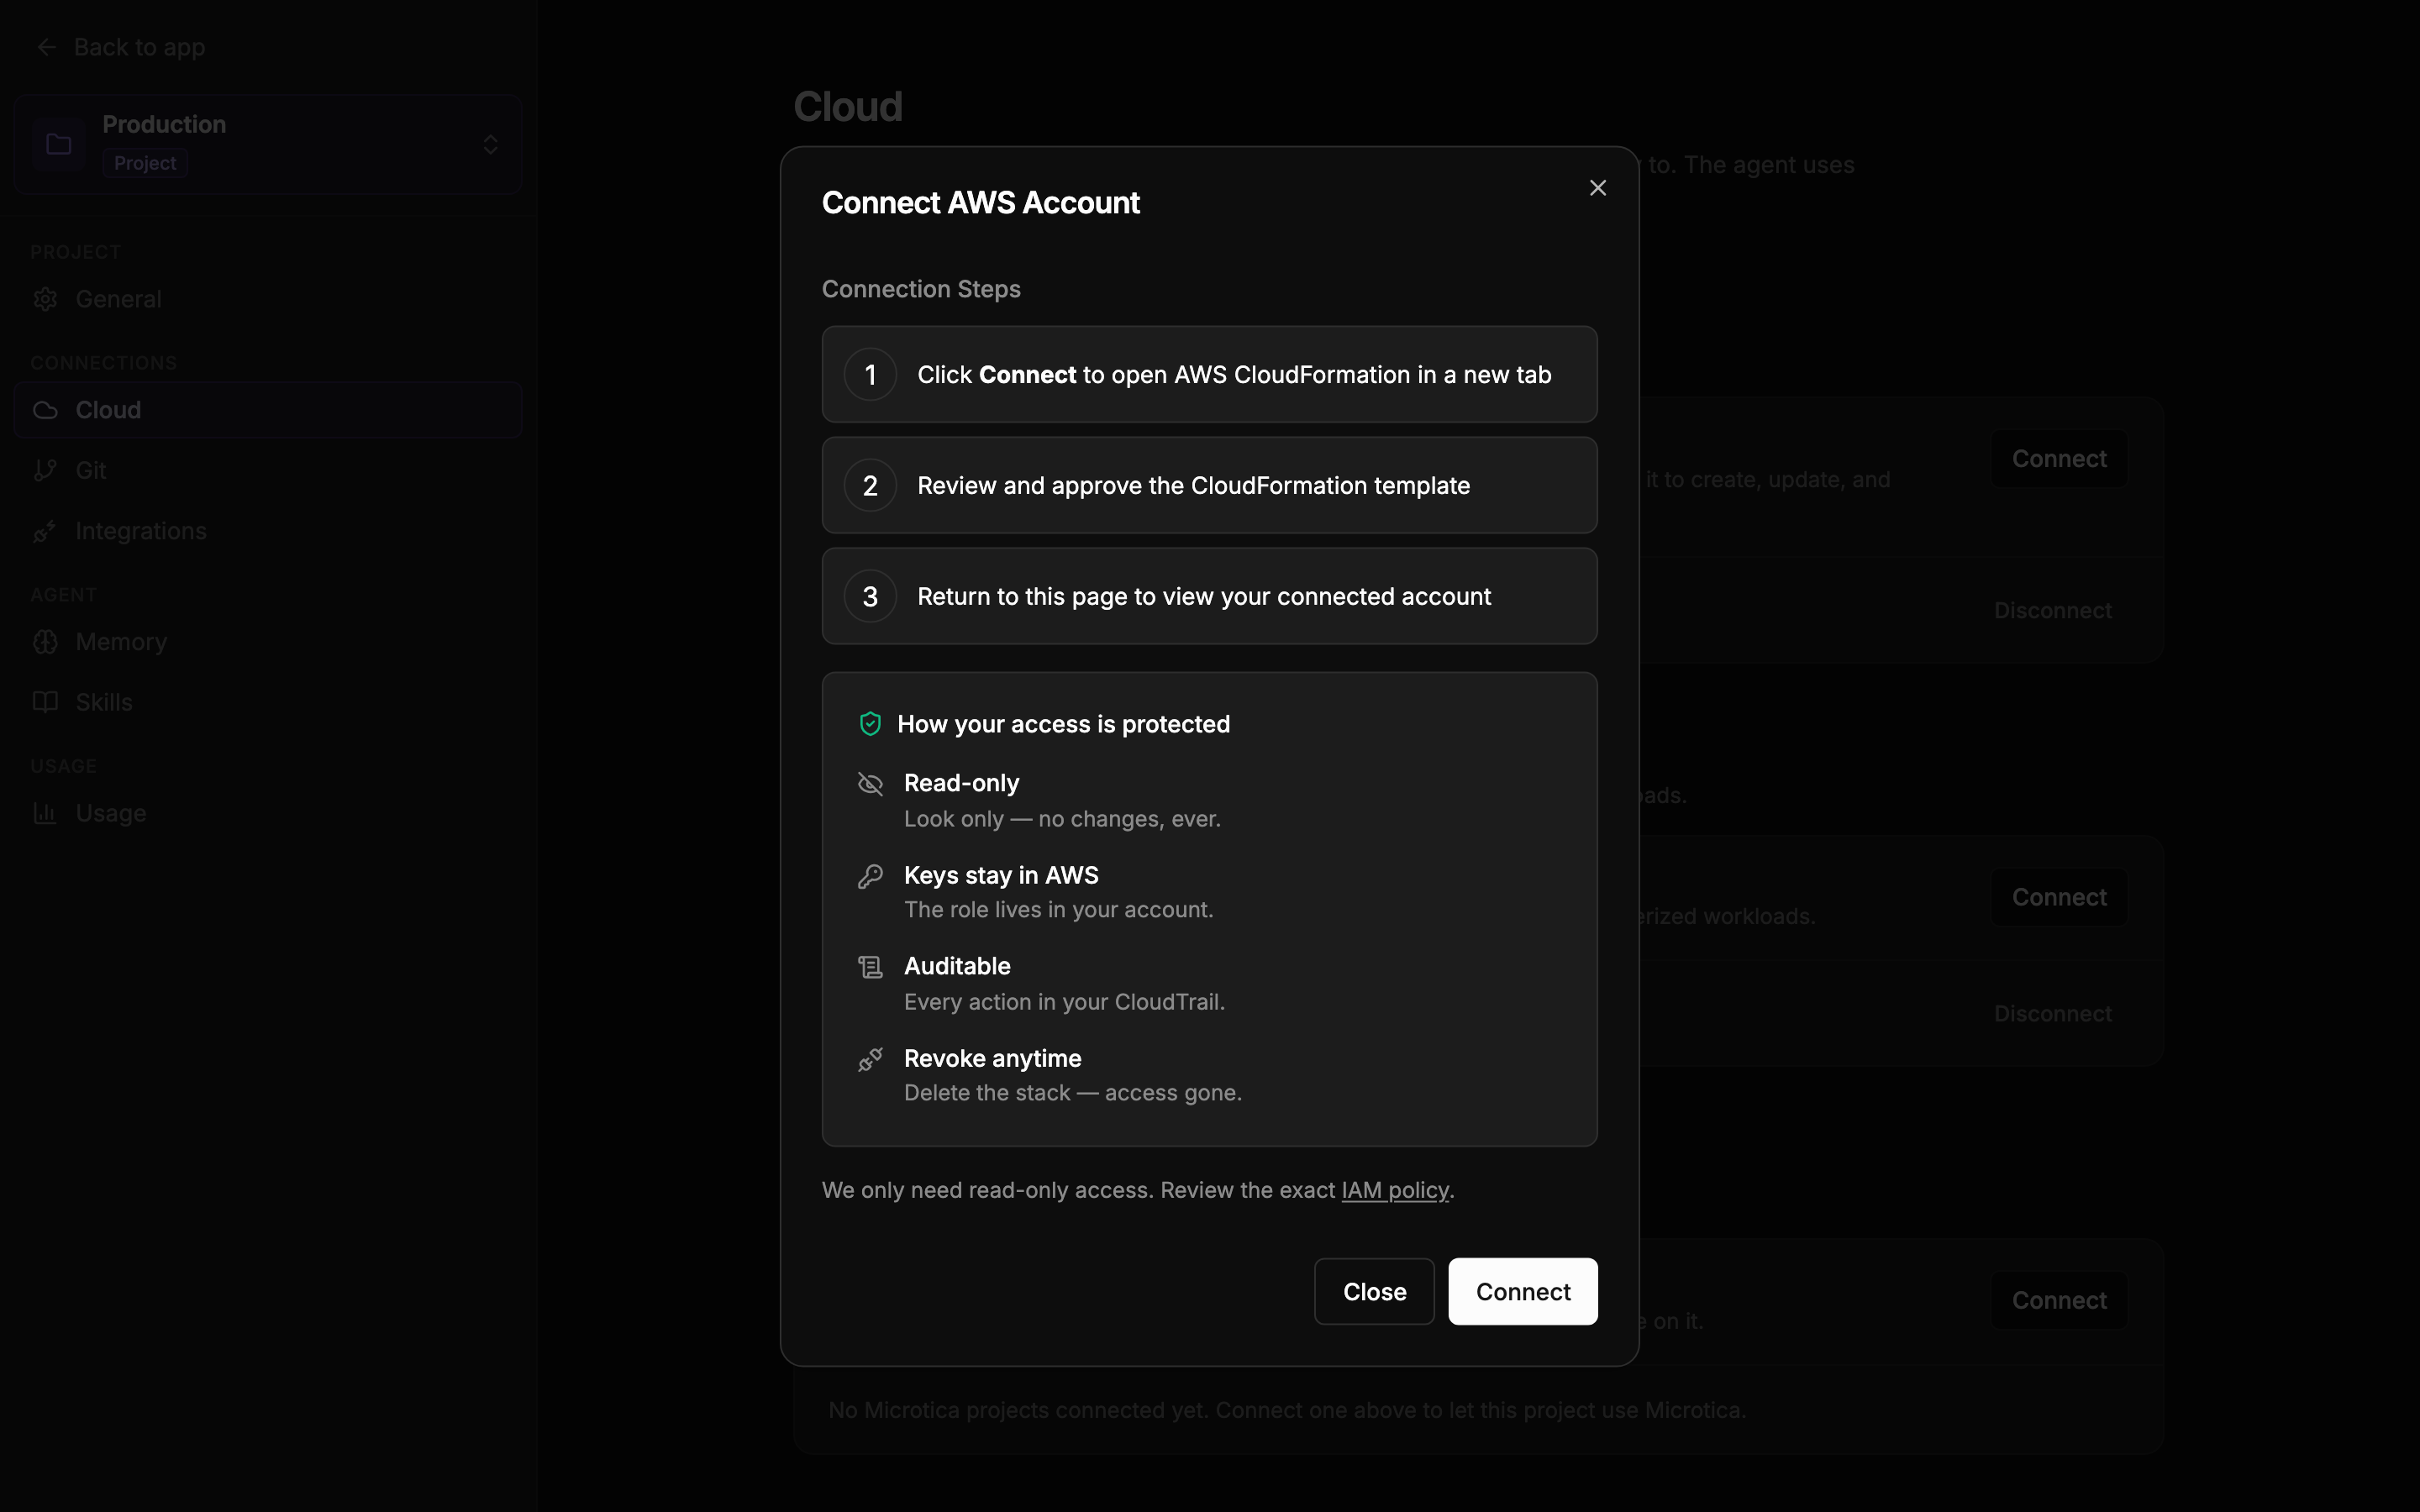 The connect dialog — three steps, and how your access is protected.
Multiple accounts
You can connect as many AWS accounts as you like — click Connect again for each one. Every account gets its own role and its own entry in the list.
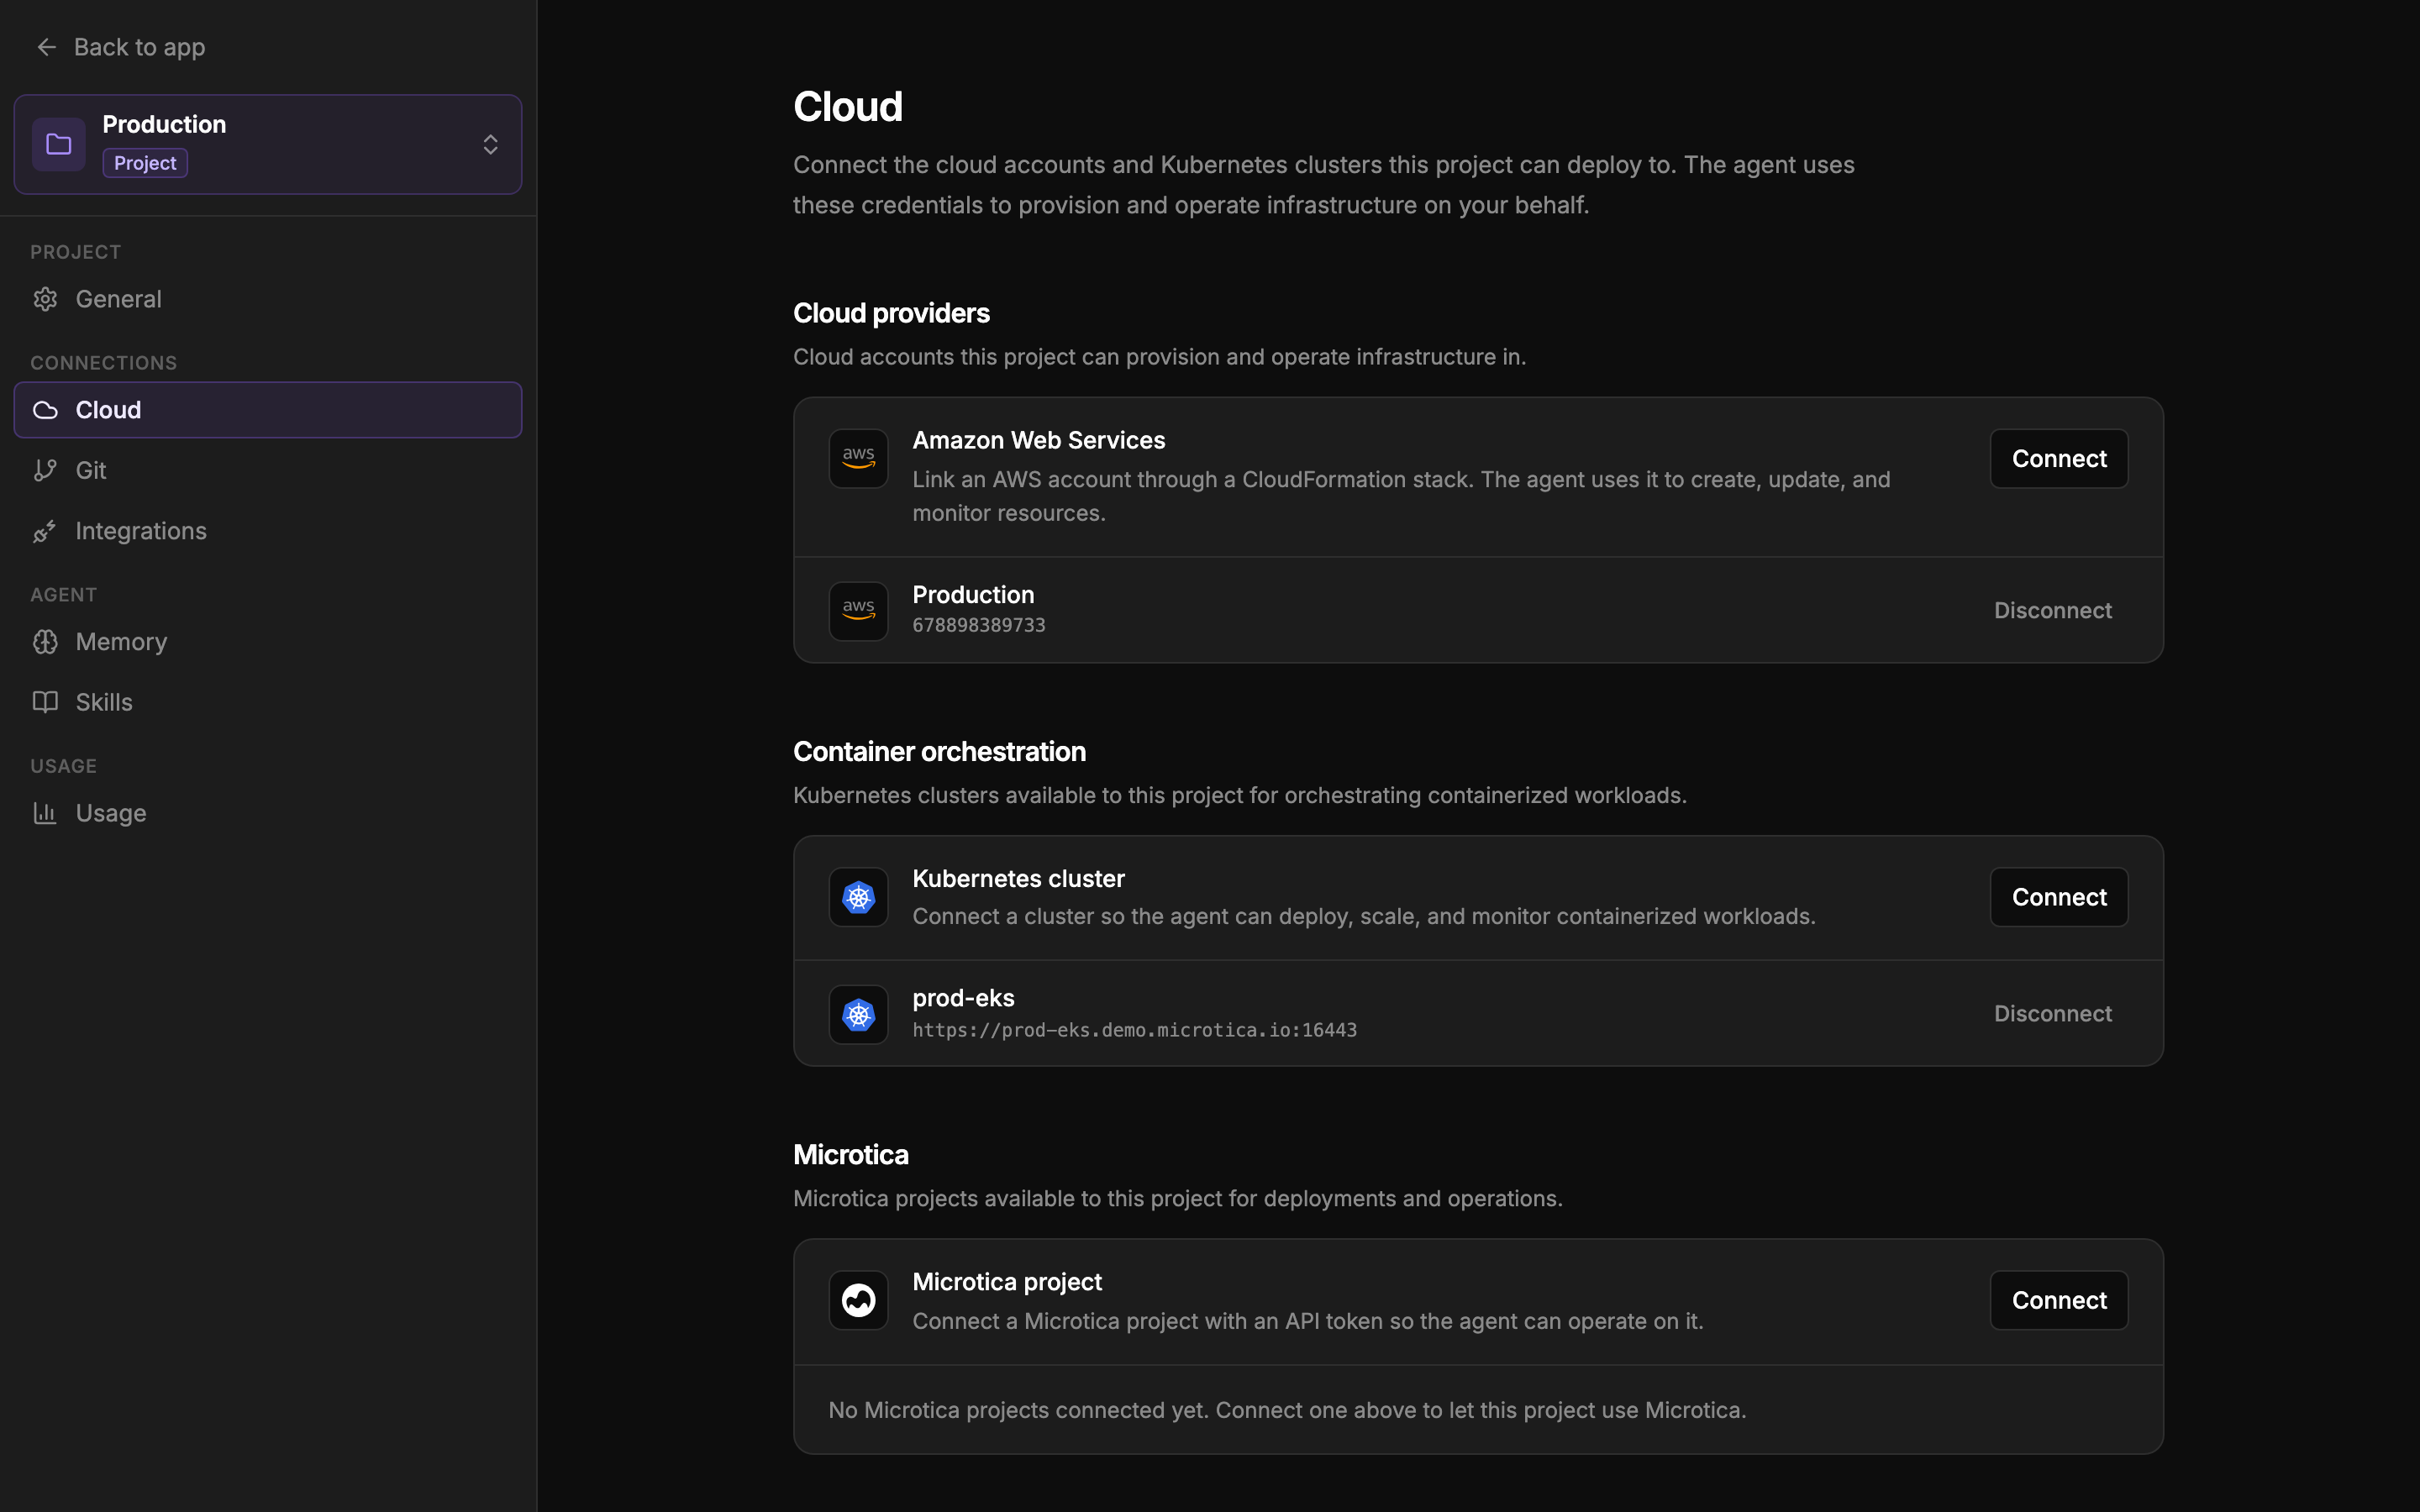 The Cloud page — every connected account is listed, renamable, and disconnectable. If you route alerts from different accounts into different Slack channels, you can bind each channel to its account later — see Connect Slack.
Rename or disconnect
- Rename: click the account’s name in the list and type a new one. Useful when you have several accounts and
AWS accountstops being descriptive. - Disconnect: click Disconnect next to the account and confirm in the Disconnect AWS Account dialog. You can also revoke access from your side at any time by deleting the CloudFormation stack in AWS — the role disappears with it.
If it doesn’t connect
- The CloudFormation link is valid for one hour. If you closed the tab or the stack failed, close the dialog and click Connect again for a fresh link.
- If the stack completed but the account still shows an error, the dialog shows the reason reported by AWS. Disconnect the failed entry and connect again.
Next: Connect Kubernetes