
Quickstart
This page takes you from nothing to your first investigation report — about 15 minutes, most of it waiting on a CloudFormation stack. You need an AWS account or a Kubernetes cluster you’re allowed to grant read access to.
1. Create your account
Sign up at app.microtica.ai. Your workspace and a first project are created for you, so there’s nothing to set up before connecting.
2. Connect an environment
The first time you open the console with nothing connected, it takes you straight into onboarding. Pick Connect AWS or Connect cluster — either one takes about two minutes. (You can also Skip for now and connect later from project settings.)
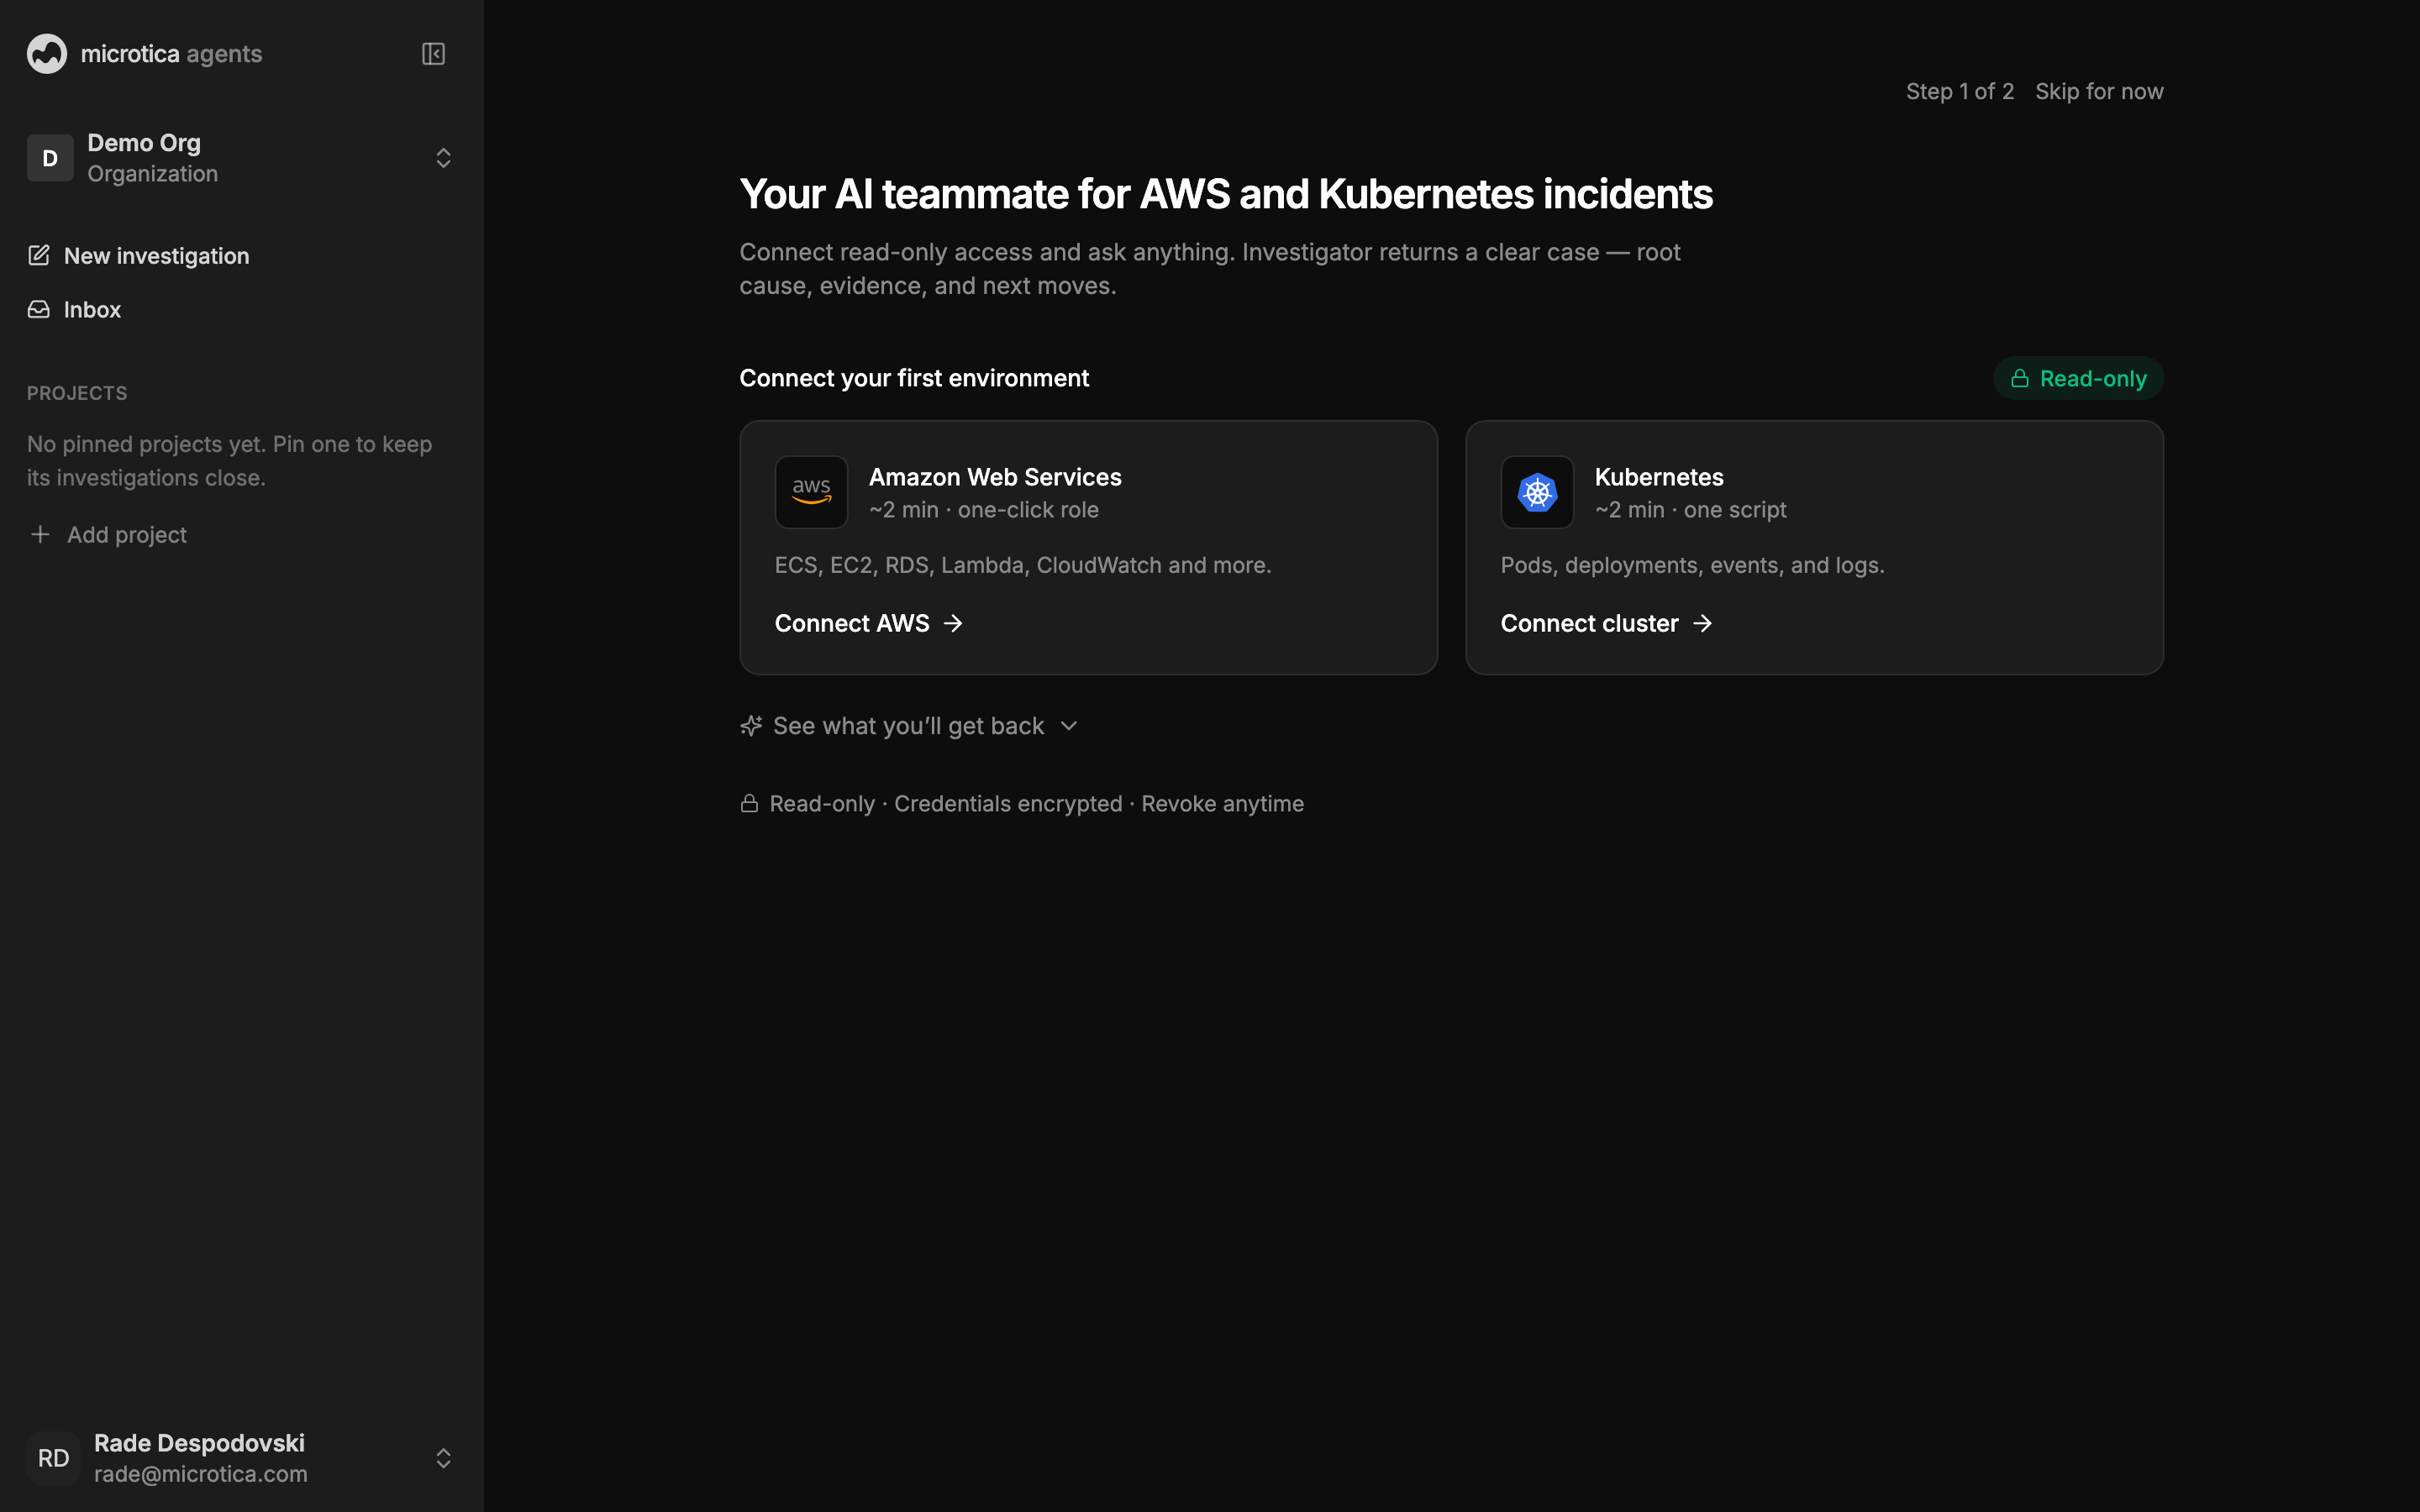 Step 1 of 2 — pick an environment; both grants are read-only.
AWS
You create a read-only role in your own AWS account — Microtica never stores a key.
- Press Open AWS CloudFormation. The template opens in your AWS account, pre-filled. If you want to inspect it first, use the Review the exact IAM policy link on the same screen.
- Review the stack and create it. The permissions are in front of you before you approve anything.
- Come back to the console. It shows Waiting for AWS and verifies the role automatically the moment the stack finishes.
Kubernetes
You apply a manifest you can read in full; it creates a service account with get, list, watch — nothing that can change your cluster.
- Copy the
kubectlcommand from the onboarding screen and run it. It applies the manifest and prints a service-account token. The View the manifest link shows the exact YAML. - Fill in Cluster name, Cluster endpoint, and API token, then press Connect. The credentials are verified against the cluster before anything is saved.
3. Run your first investigation
When the connection verifies, the console confirms it and offers starting points:
- Why are my ECS tasks failing?
- What’s driving my AWS bill this month?
- Show me anything unhealthy right now
Pick one, or press Go to Investigator and ask in your own words — a real symptom from your infrastructure beats a generic prompt. The Investigator opens a case, gathers evidence from the environment you just connected, and reports back with a working hypothesis, findings, and next moves. If it needs an answer from you along the way, the case shows up under Needs you in the inbox.
That’s the whole loop: ask, wait a few minutes, read the case. From here, the biggest single upgrade is putting the Investigator where your alerts already are — your Slack.
Next: Connect Slack