
Connect Git providers
When an investigation points at a code change, the Investigator is more useful with the repository in reach: it reads code, commits, diffs, branches, and pull requests across the accounts you connect, to tie a symptom to the change behind it. Microtica Agents supports GitHub, GitLab, and Bitbucket. (Some grants technically include write access — Security & access states exactly what each provider grant covers.)
Connect a provider
- In the console, open your project’s settings and choose Git under Connections.
- In the Providers section, click Connect next to GitHub, GitLab, or Bitbucket.
- You’re redirected to the provider to authorize:
- GitHub installs a GitHub App on a user or organization account. You choose which repositories to grant during the install — the Investigator can only reach the repositories you pick.
- GitLab authorizes a user or group account via OAuth.
- Bitbucket authorizes a workspace account via OAuth.
- Approve, and you’re returned to the Git page with a Successfully connected confirmation. The account appears under Connected accounts.
You can connect several providers, and several accounts per provider — each shows as its own entry.
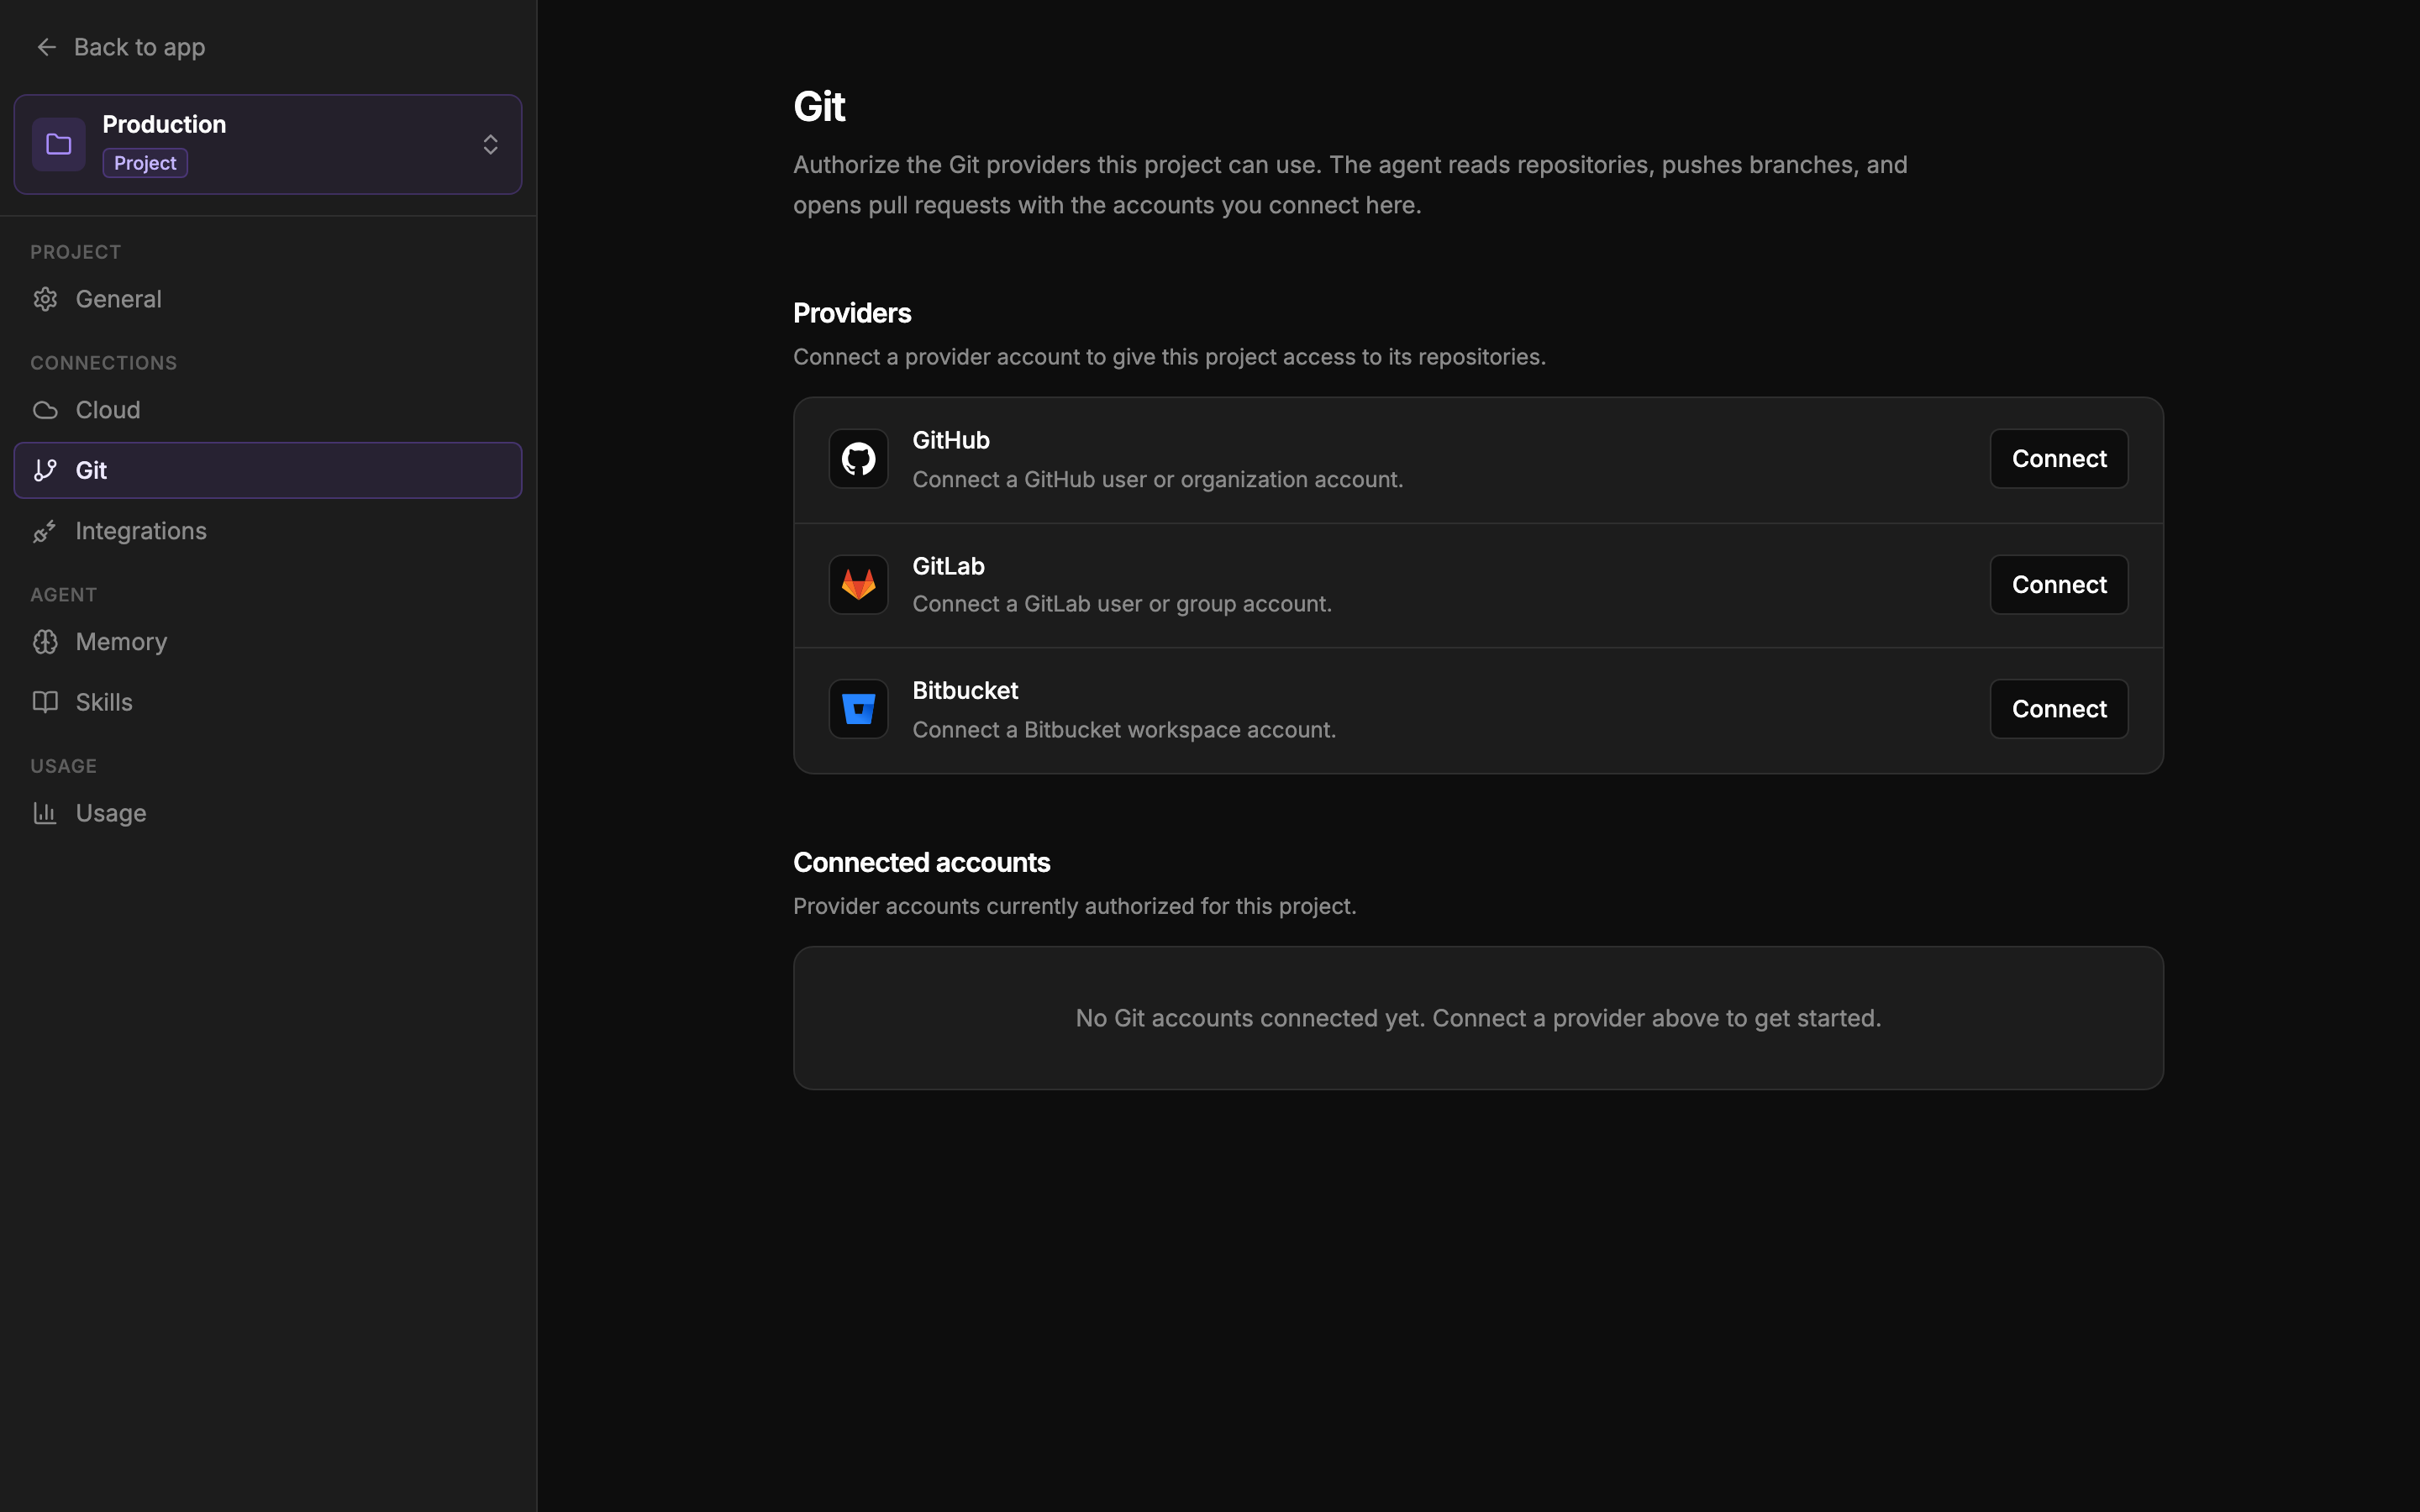 The Git page — three providers; connected accounts appear below them.
How access works
- GitHub connections store no secret at all: short-lived access tokens are minted on demand from the App installation, scoped to the repositories you granted. To change which repositories are included, adjust the installation in GitHub’s settings.
- GitLab and Bitbucket connections hold OAuth tokens for the account you authorized, stored encrypted.
More on credential handling in Security & access.
Disconnect
Click Disconnect next to an account under Connected accounts and confirm in the Disconnect Git account dialog. You can reconnect the provider at any time from the list above.
If it doesn’t connect
- Abandoning the authorization mid-way leaves nothing behind — just click Connect again.
- If you land back with a Connection failed message, the provider’s reason is shown. The authorization link is short-lived, so a long pause on the provider’s side can expire it; retrying is always safe.
- An account showing a connection error in the list usually means access was revoked on the provider’s side — disconnect it and connect again.
Next: Connect Cloudflare